Make it mushy and mellow with love
By Elaine Ng - Monday, Feb 11, 2013
Handmade marshmallows are – not just literally – a sweet gift you could present your beloved on Valentine’s Day. Besides tasting a whole lot better and fluffier than their oft-stale factory-made counterparts, this thoughtful treat is surprisingly simple to make with just a handful of ingredients required.
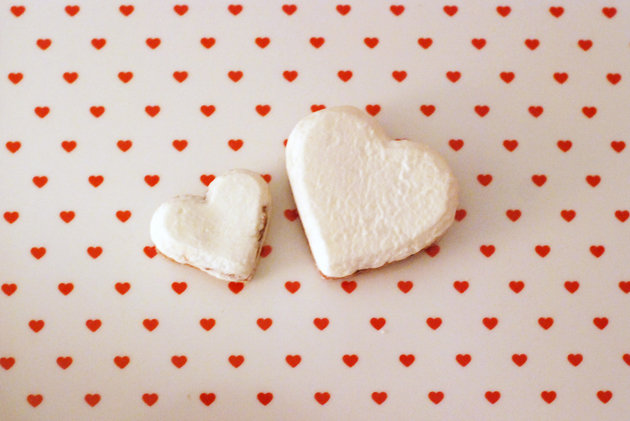
They also make fun and versatile gifts; you could make them pretty in all shapes and sizes as well as decorate them with various kinds of toppings and fillings. On this occasion, cut them out in heart-shaped cookie cutters or simply mix in little candy hearts. For Christmas, replace with snowflake-shaped marshmallows or sprinkle crushed peppermint candy over it.
As our unorthodox take of an old Chinese saying goes, “下得了厨房,上得了天堂(If one can cook, he or she will be offered a place in heaven)”. Just an hour in the kitchen, and you could enjoy the rest of the evening in heaven — a cuppa Irish hot chocolate (hot chocolate spiked with coffee or caramel liquer) topped with heart-shaped marshmallows in one hand, and your sweetheart in the other.

Ingredients
Cold water to be equally divided into two portions, 240ml Gelatin (powder), 20 grams Pure vanilla extract, 2 tsp Granulated white sugar, 400 grams Light corn syrup, 240ml Pinch of salt, 1/4 tsp
Garnish
One part corn flour to one part icing sugar (sifted) Nutella, chocolate, sprinkles (optional)
Directions
In the metal bowl of your stand mixer, leave the gelatin to dissolve in 120ml of cold water for about 15 minutes. Have your whisk attachment ready.
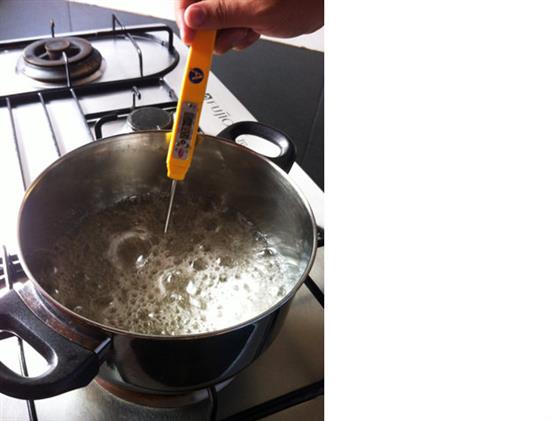
Combine in a saucepan, the rest of the cold water (120ml), granulated sugar, light corn syrup and a pinch of salt. You may use up to 100gm less sugar if you like. Cook over medium high heat for about five minutes, or until the mixture comes to a boil, making sure the salt and sugar dissolves completely. Then stick in your candy thermometer till the mixture reaches 115 degrees Celsius, before removing from heat.
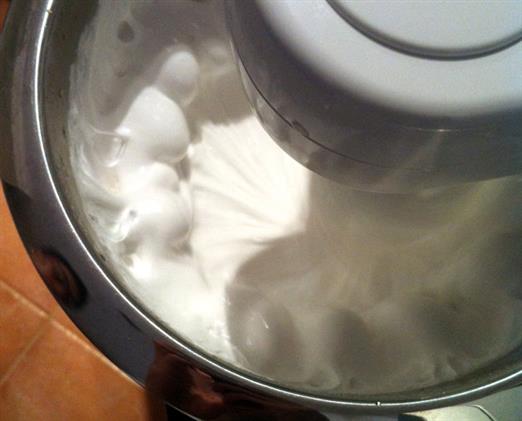
Have the gelatin mixture in your mixer running on low speed, and slowly introduce the hot syrup mixture down the side of the metal bowl. Increase the speed to medium then high and continue to whisk until the mixture turns thick and puffy-looking. This should take about seven to 10 minutes, depending on your mixer.
Meanwhile, line the bottom of your baking pan with parchment paper before lightly applying cooking spray (or a very thin layer of vegetable oil) and sift a layer of icing sugar to cover. This is important for removal when the marshmallow mixture sets — be generous.
Touch the side of the metal bowl. When it feels lukewarm, add in the vanilla extract and continue to beat for about 30 seconds more. You may wish to add in any food colouring, or additional vanilla extract to cover up the smell of the gelatin which could be rather strong.
Empty out the mixture into your prepared baking pan(s) and stir in Nutella if you wish. The recipe makes exactly enough to fill our 10x7x3 inch pan but you could use any baking pans you have. Just watch for the thickness you want and smooth out the top as much as you can. Then dust the surface with more icing sugar and let the mixture set for at least 10 hours or, even better, overnight.
Release the marshmallow sheet by running a sharp knife along the edges of your baking pan. Flip it out onto your cutting board, with ample area to space out the cut pieces. Gently peel off the parchment paper and dust more icing sugar, especially on bald spots.

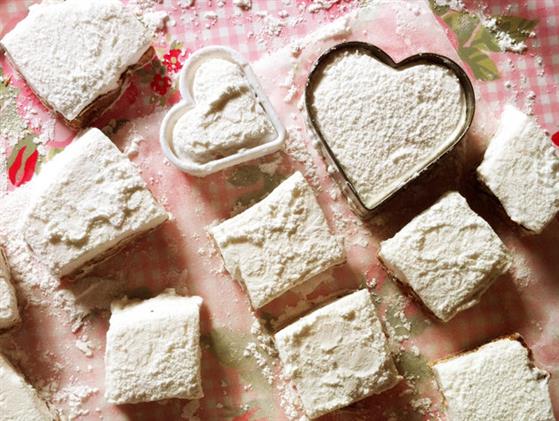
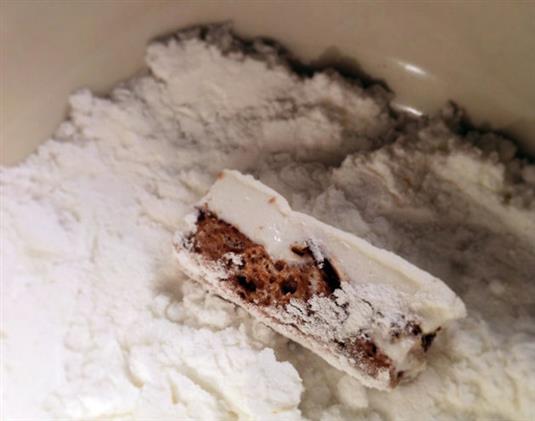
Finally, the fun part: cut the marshmallows into squares with a pizza roller, your scissors or into shapes with your cookie cutters (metal ones cut better). Then toss and coat in the cornflour-icing sugar mixture. Alternatively, you could dip the marshmallows into melted chocolate before sprinkling little hearts or colourful dots on it.